

Your Ultimate Guide to Wreath Making at Home 2025
Got the urge to try wreath making this year? Here, we’ll share practical advice on how to artfully employ the colours and textures of the season to create wreaths for autumn and Christmas. We also run in-person courses to teach you live through immersive masterclasses at our studio in London.
Much of the wreath-making advice available online promotes materials that are harmful to the planet – but not here. At Blooming Haus, we are always mindful of both people and our planet.
Step by Step Guide to Making a Wreath
1. Go Foraging
2. Organise Your Materials
3. Prepare the Base
4. Start to Decorate
5. Attend One of our Flower Courses to Learn Wreath Making Skills
2. Organise Your Materials
3. Prepare the Base
4. Start to Decorate
5. Attend One of our Flower Courses to Learn Wreath Making Skills
1. Go Foraging
This step in the autumn wreath-making process isn’t mandatory, but it is a great deal of fun. Put on some warm clothes and go out looking for items like berries, pine cones, and leaves to include in your creation. If you’re making a Christmas wreath, why not take some glühwein along to get into the festive spirit?

Foraging can be a wonderful family activity. Children love scouring fields, parks, and woods for wreath-making materials, and sourcing items this way makes your autumn or Christmas wreath extra special. It is also better for the planet, as you are using natural resources from a local source.
Please note: do not take or pick anything you shouldn’t while foraging, and avoid collecting items if you are unsure whether they are safe to handle.
Please note: do not take or pick anything you shouldn’t while foraging, and avoid collecting items if you are unsure whether they are safe to handle.
2. Organise Your Materials
Once you’ve completed your foraging, it’s time to organise the materials you’re going to use. Christmas wreaths and autumn wreaths can contain different items, and it’s always worth adding a personal touch.
In general, you’ll need a basic frame for your wreath, some twine, and the items you want to attach to the frame.
Traditionally, floral foam has often been used to create wreaths, but people are increasingly aware of the damage it can cause to the environment. It should be avoided when making an eco-friendly wreath. You can read more about this in our journal entry:
The Impact of Floral Foam on Our Environment and Suggested Green Alternatives
The most eco-friendly approach for the frame is to use uncoated, non-anodised wire, though this can be difficult to source. A wire coat hanger is a reasonable substitute – not a perfect solution, but far preferable to plastic.
You should also have some uncoated rusty wire or twine available to bind materials to the wreath. Ribbons can be a beautiful addition too.

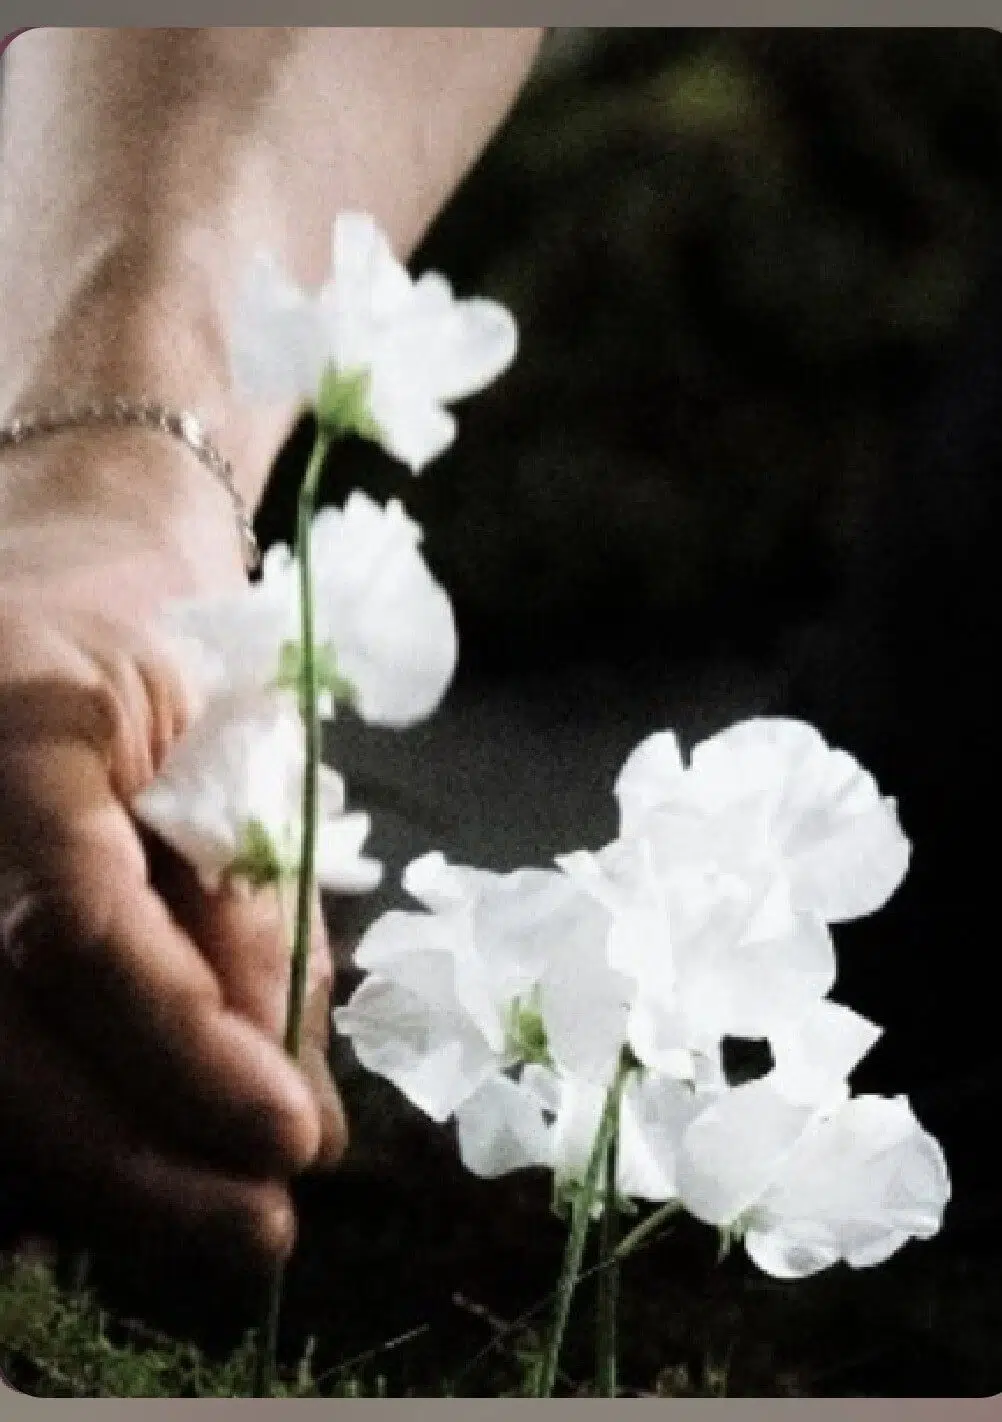
Once you’ve arranged the basic materials, you have a decision to make about how your wreath will be decorated. There are no rules here. For autumn wreaths, we love evergreen laurel leaves and branches as well as beech. Pine cones and feathers are also wonderful additions.

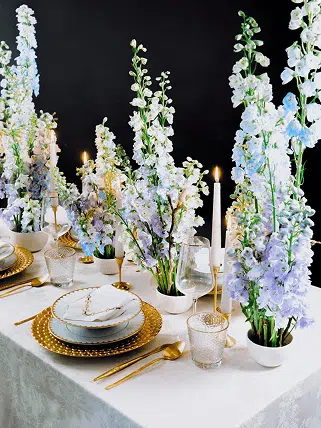
For an extra pop of colour, hydrangeas are perfect flowers to include in a wreath for autumn. Available in blues, greens, pinks, and purples, their full blooms add real depth to any wreath. They also symbolise grace and gratitude, making them an especially lovely choice for a wreath intended as a gift.
Other flowers that add colour and texture to an autumn wreath include physalis (Chinese lanterns), rose hips, hypericum, thistles, and dried lavender.
Whichever flowers and other items you choose, arranging them in boxes in the order you plan to use them will help keep everything organised.
Other flowers that add colour and texture to an autumn wreath include physalis (Chinese lanterns), rose hips, hypericum, thistles, and dried lavender.
Whichever flowers and other items you choose, arranging them in boxes in the order you plan to use them will help keep everything organised.
3. Prepare the Base
Preparing the base is where the practical side of wreath making begins. Start by forming your wire coat hanger, or piece of rusty wire, into a circle.
Don’t worry too much if you can’t achieve a perfect circle – the base will be covered with materials, and any imperfections will be hidden. Part of what makes wreath making so enjoyable is that the result is uniquely personal. It matters far more that you enjoy the process than that everything is technically flawless.
If you’re using a coat hanger as the base for your autumn wreath, bend the hook into a loop to make hanging easier. If you’re using twine in your wreath-making, wrap it around the wire circle to create a more sturdy base – this gives you the structure you need to move on to the decoration stage.

4. Start to Decorate
There are a few ways to decorate an autumn wreath in an eco-friendly way. The most truly green option is to use bamboo sticks to pierce everything, but this can be tricky and time-consuming. Instead, we’d recommend using twine or uncoated rusty wire to secure all elements.
Start with the biggest pieces of foliage and wrap them around the circle, making sure they’re secured with wire or twine.
A useful tip: mark out where you plan to place certain flowers or foliage so your wreath looks even and considered. Hair pins or cocktail sticks work well for this – use different colours to code each position. Simply place your markers around the frame and remove them once the flowers or foliage are in place.

Continue building up your wreath layer by layer. As you go, poke in the stems of the foliage and flowers to keep the lines of the wreath looking clean.

To add a personal touch to your autumn wreath, consider adding ribbon, mini pumpkins, or dried orange slices. Whatever you choose, make sure there are no visible gaps in the finished wreath.
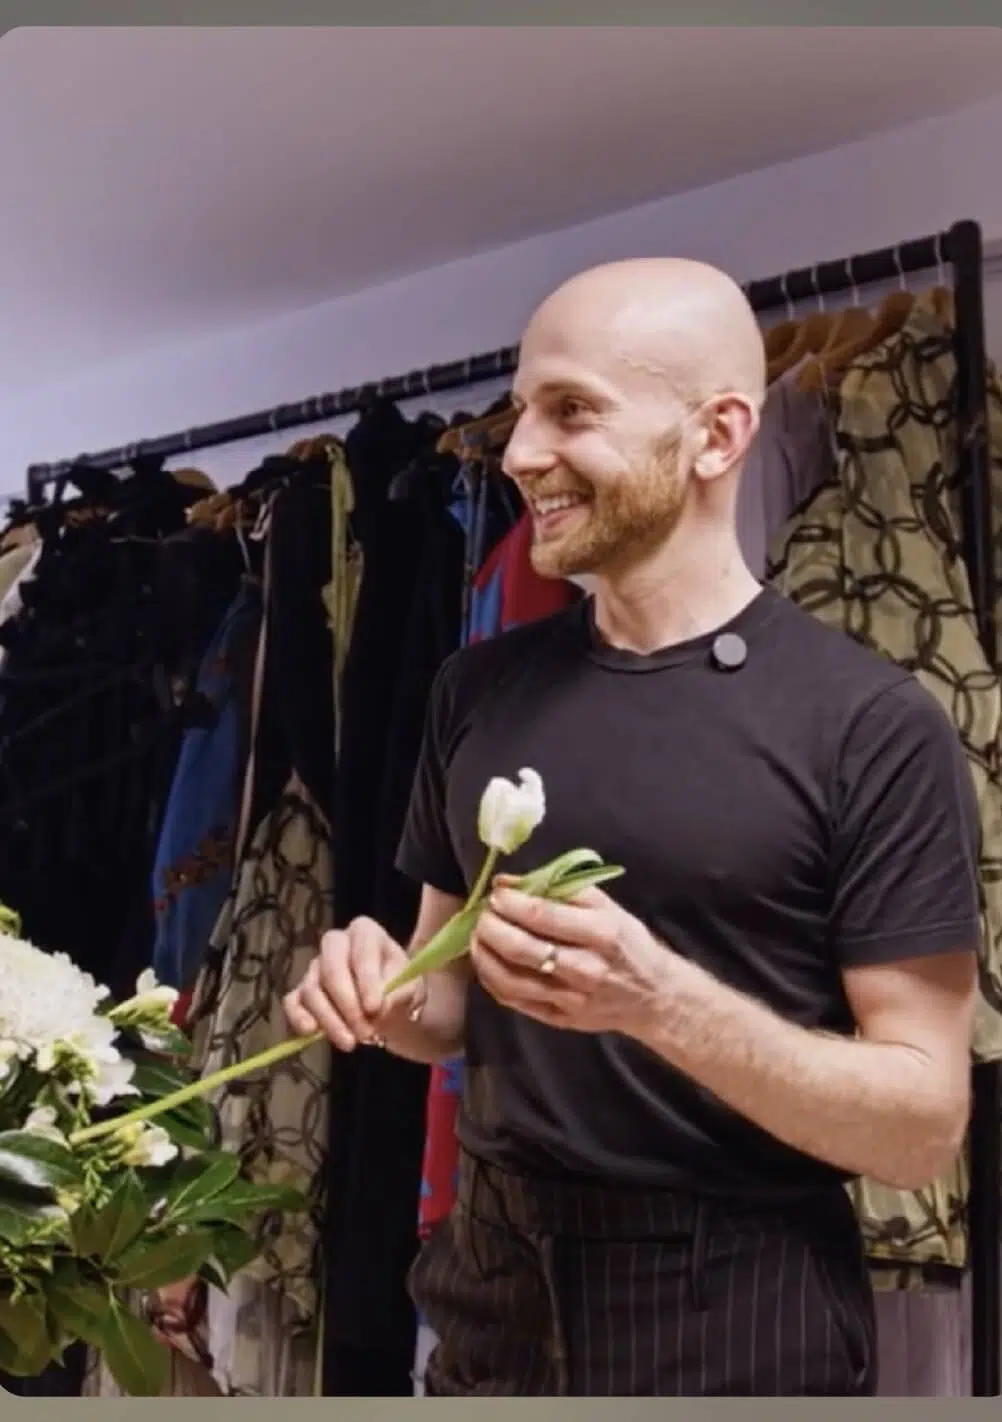
5. Attend One of our Flower Courses to Learn Wreath Making Skills
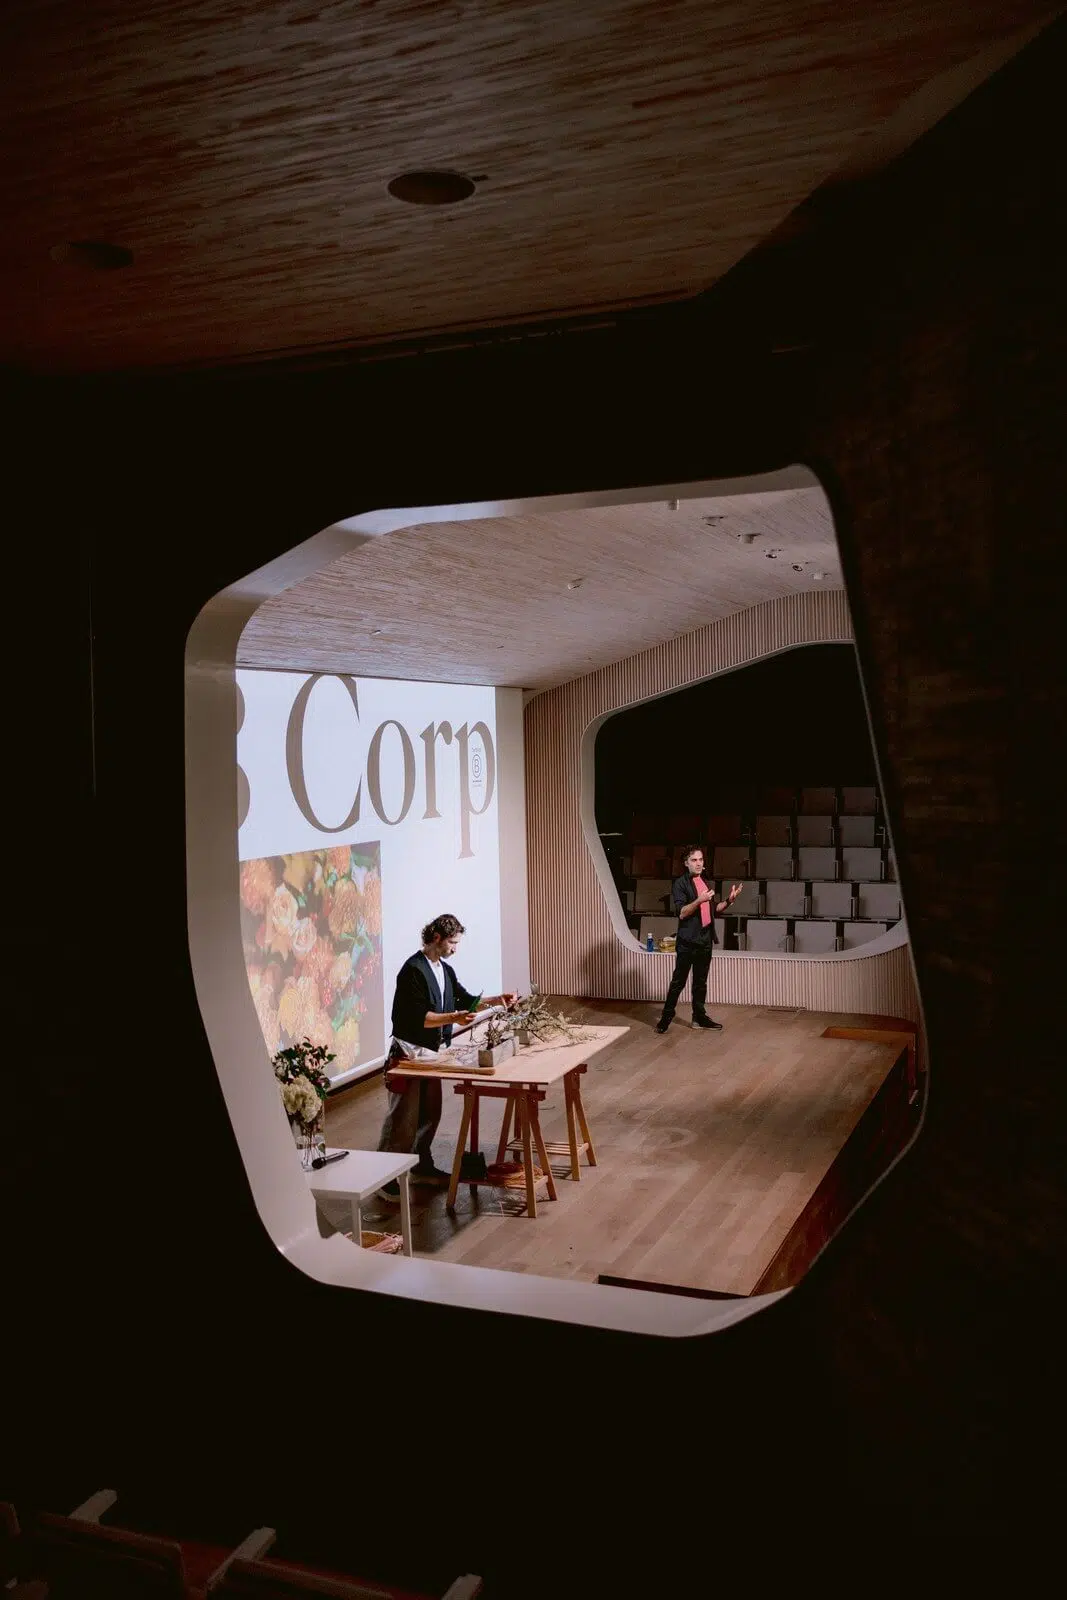
If this guide has inspired you to take your wreath making further, our dedicated flower courses are designed to suit people with different levels of experience – from complete beginners to green-fingered enthusiasts. You’ll come away feeling confident and equipped to create a beautiful Christmas wreath to impress family and friends.

Our interactive classes are held at our London studio, with an online option available for those who prefer to learn remotely. These sessions are an opportunity to develop skills, gain confidence, and unlock your own floral artistry.

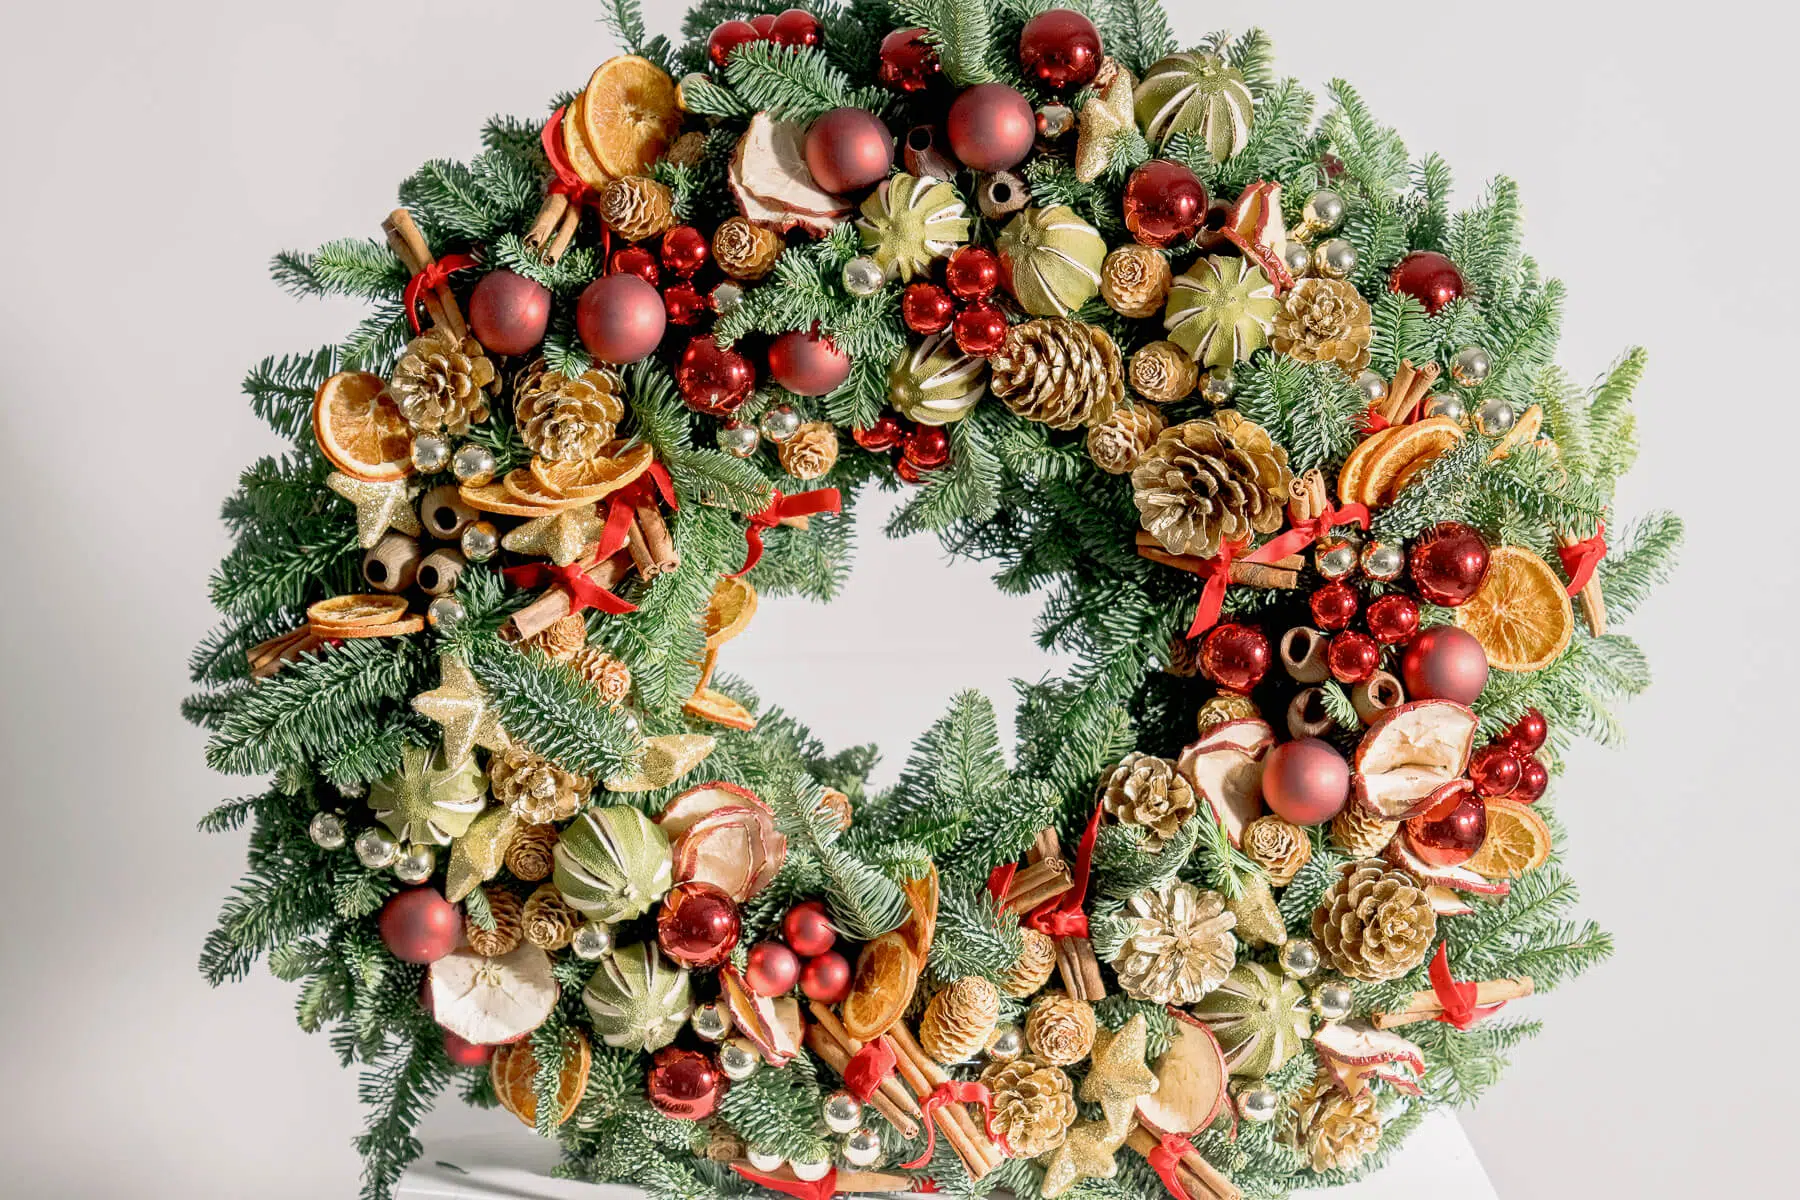
Take a look at what you could achieve by designing wreaths and floral arrangements for your home this Christmas…

If you would prefer us to come to you rather than attending a class at our studio in Battersea, we can arrange this for an additional fee. These bespoke workshops can be fully tailored to you or your group – including corporate teams looking for a creative and seasonal activity.
You can find full details of our classes on our flower courses page, or call us on 020 3389 9609 to discuss bespoke wreath-making sessions or any of our other floral design classes.
You can find full details of our classes on our flower courses page, or call us on 020 3389 9609 to discuss bespoke wreath-making sessions or any of our other floral design classes.
Have Questions About Wreath Making at Home?
Leave a comment below and we will get back to you as soon as possible.